
OKTO35 Mk1
In the very beginning, there was … well, this thing. The OKTO35 Mk1.
A machine that could (barely) shoot and scan its own 35mm film movies.
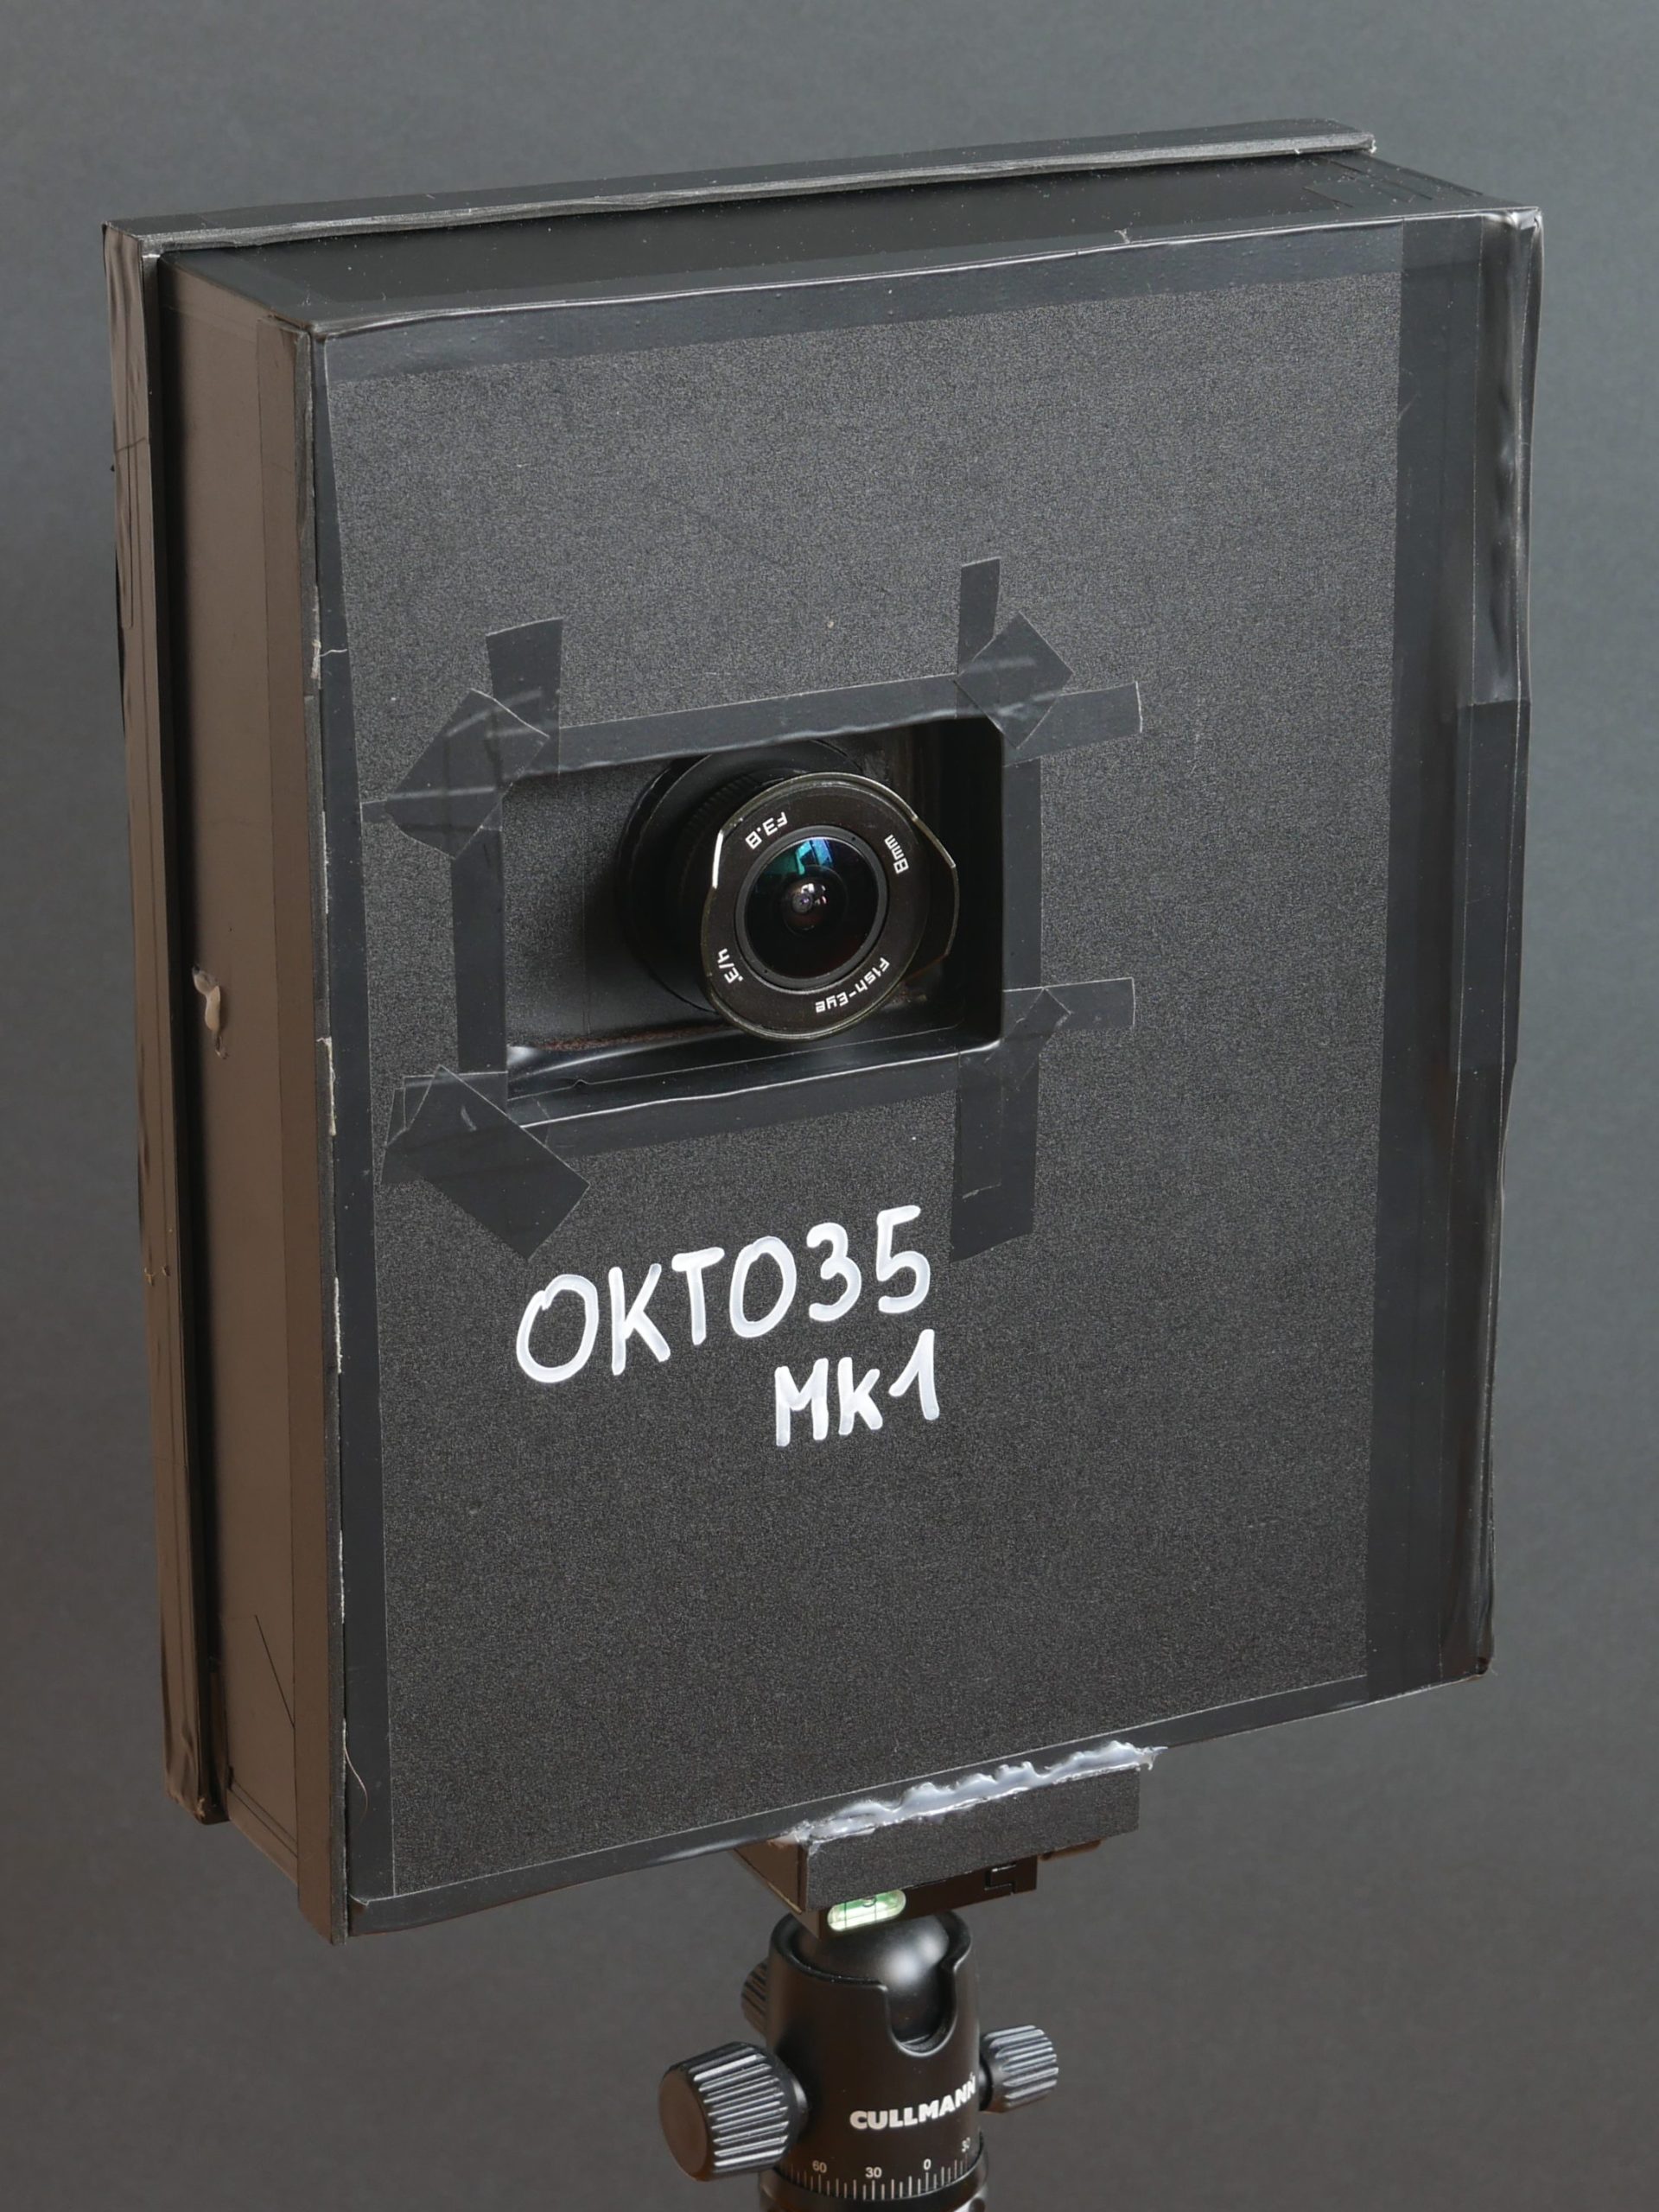
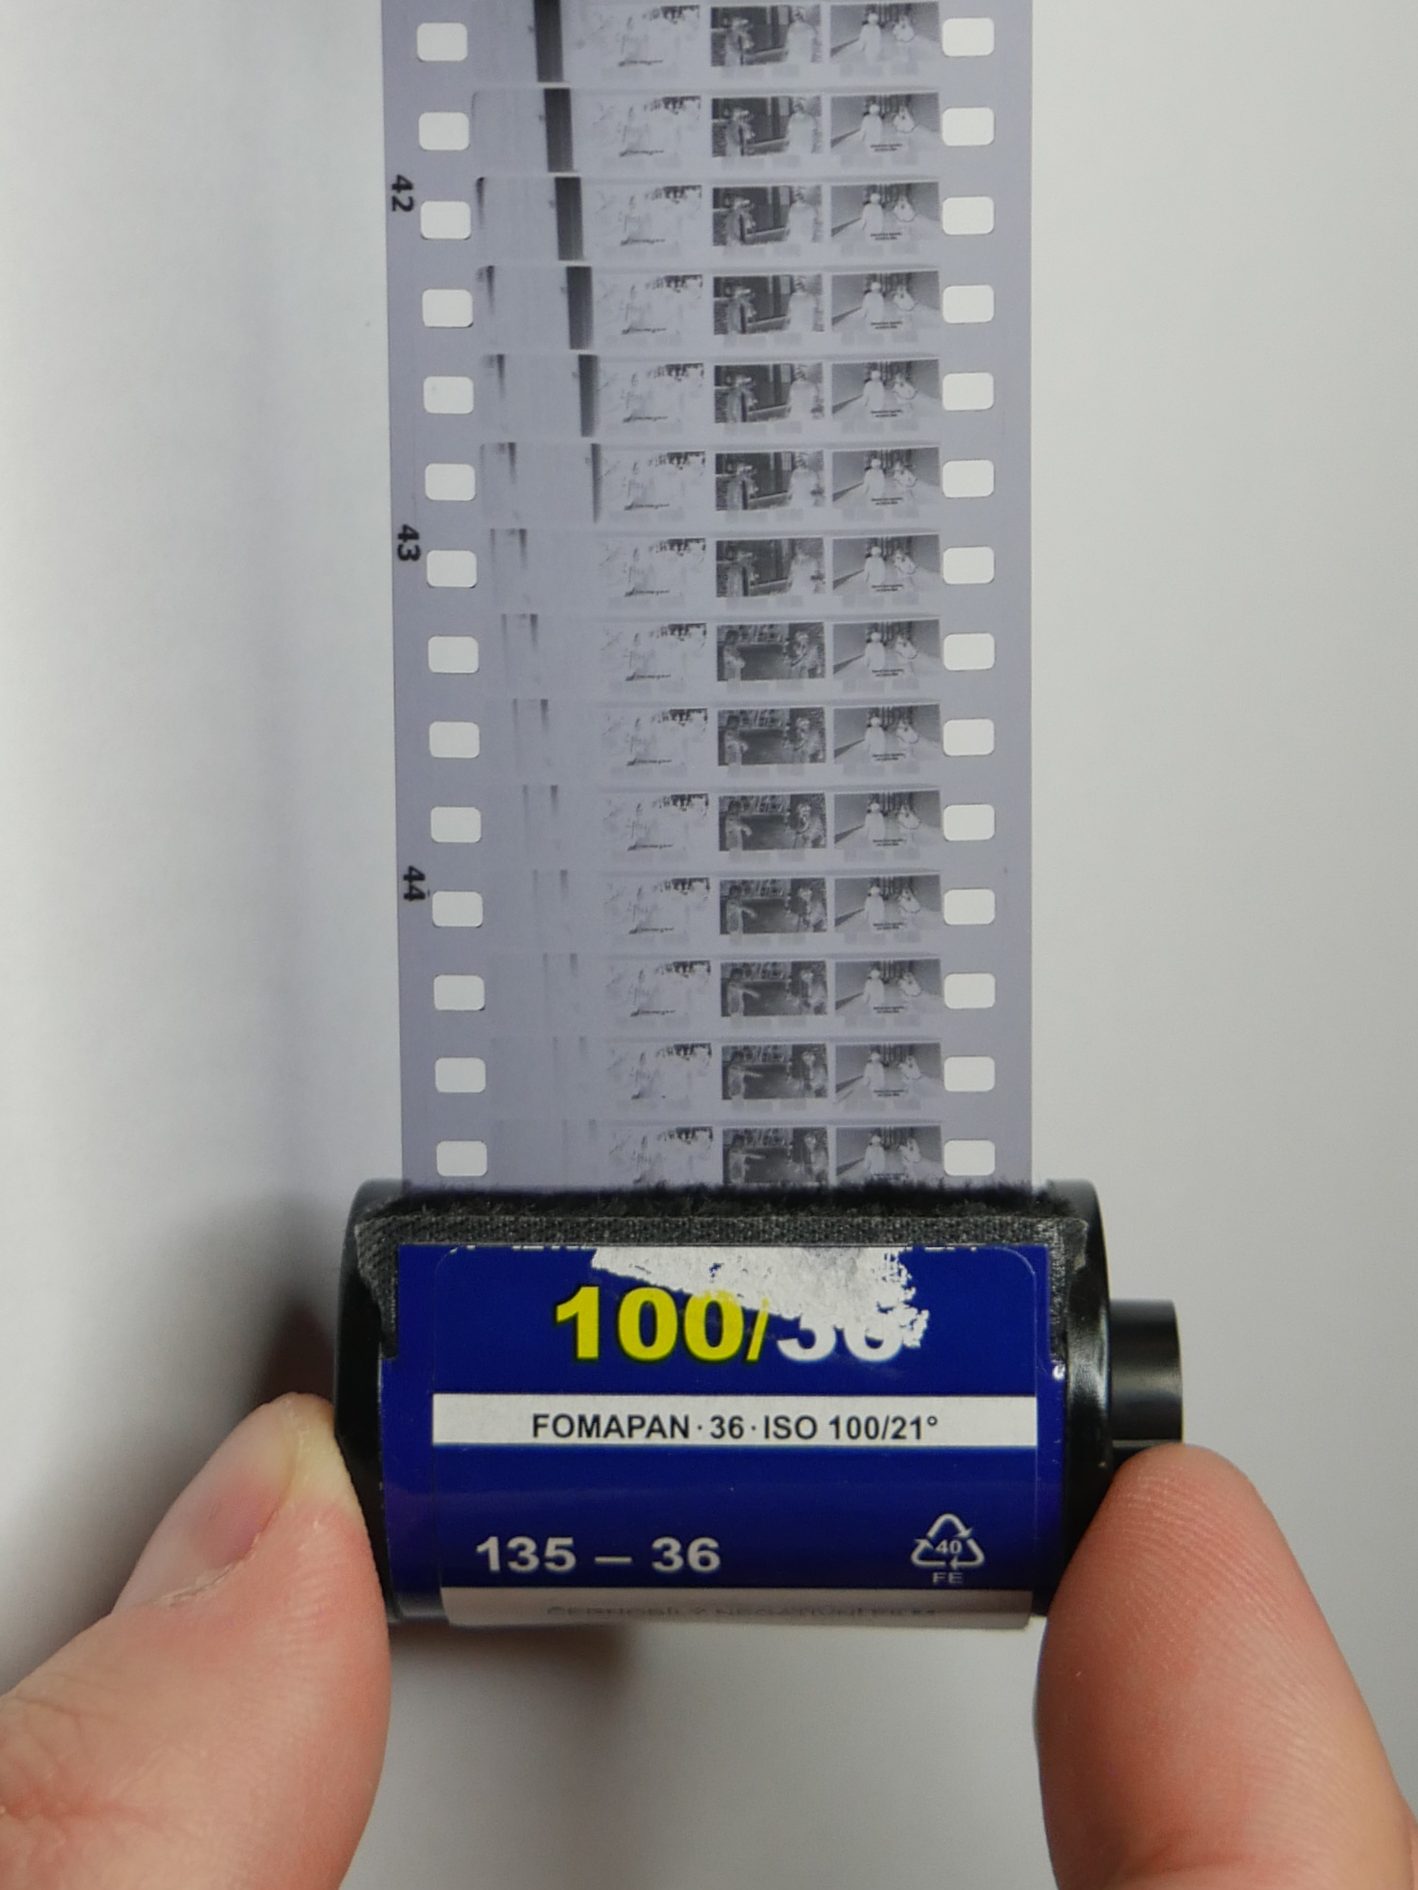
This was my first version of a DIY 35mm Motion Picture Film Camera with built-in film scanning capability. The camera was, to say the least, a very crude, handmade prototype, built and tested in 2021. And as a bonus, it looked like one of those traffic radars used to monitor vehicle speeds. You can only imagine the looks I got using this thing near the roads.
The main reason for building such a camera in the first place was simply due to Super 8’s high shooting costs and waiting for scanned results. Being the type of DIY tinkerer and electronics engineer who loves analog photography and videography, I decided to go for it and invent a solution. A type of camera that can shoot on more common and cheaper 35mm cartridge rolls and also be capable of digitizing them.
The camera, despite lots of its drawbacks, worked just enough to serve as a proof-of-concept and to prove something important; this works well enough to be worthy of a second camera version OKTO35 Mk2.
CAMERA FEATURES
The camera was very limited in features and usability. Also hard to use due to its cumbersome size and (lack of) useful user interface. But at its core, it was fully functional as an Analog Film Movie Camera with shooting and scanning capability on standard 35mm cartridge film rolls. Nonetheless, it was capable of:
- 1-perf pulldown movement in 4-track exposure method on 35mm film
- interchangeable C-mount lens support
- gate exposure size of 5.8 × 4.4 [mm]
- framerate 12 – 16 FPS
- fixed 150° shutter angle
- motorized frame advance with rewind and exposure track shift
- a simple 7-segment LED information display with a few control buttons
- frame-by-frame scanning sync connection with a DSLR camera
EXTERNALS
The external design wasn’t particularly user-friendly. It possessed only the bare minimum necessities needed for the camera operation. Also, it was big and clunky to operate. A tripod was a must in any situation.
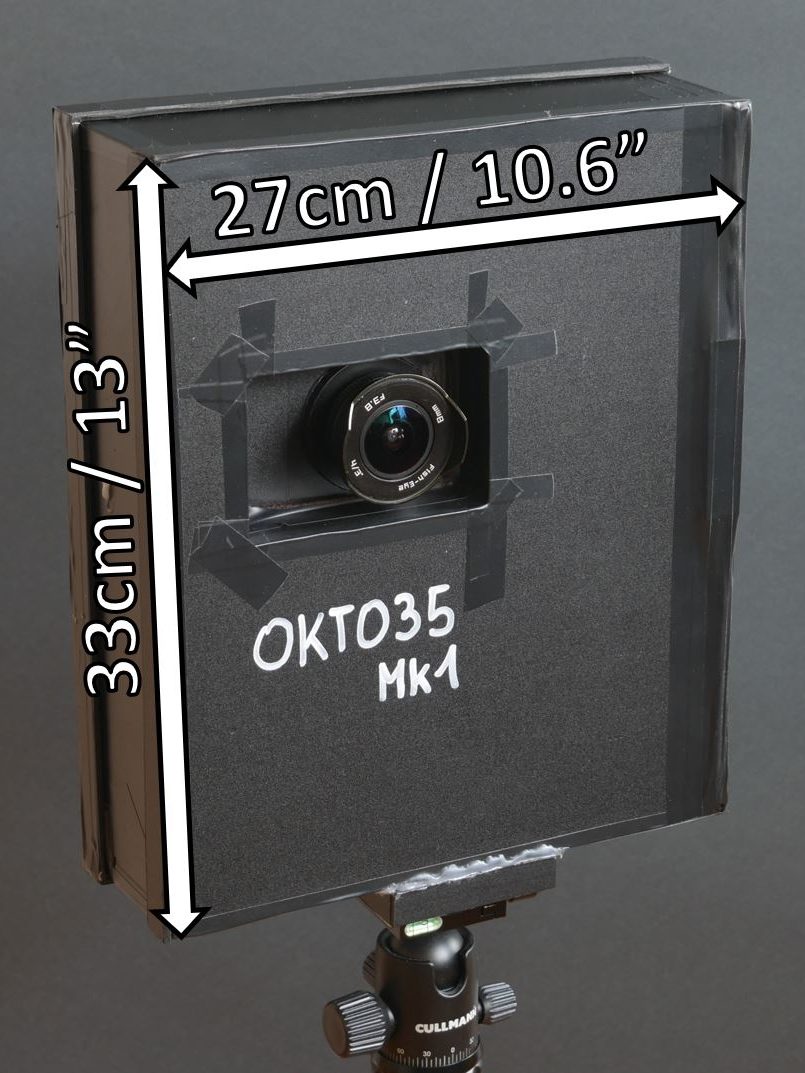
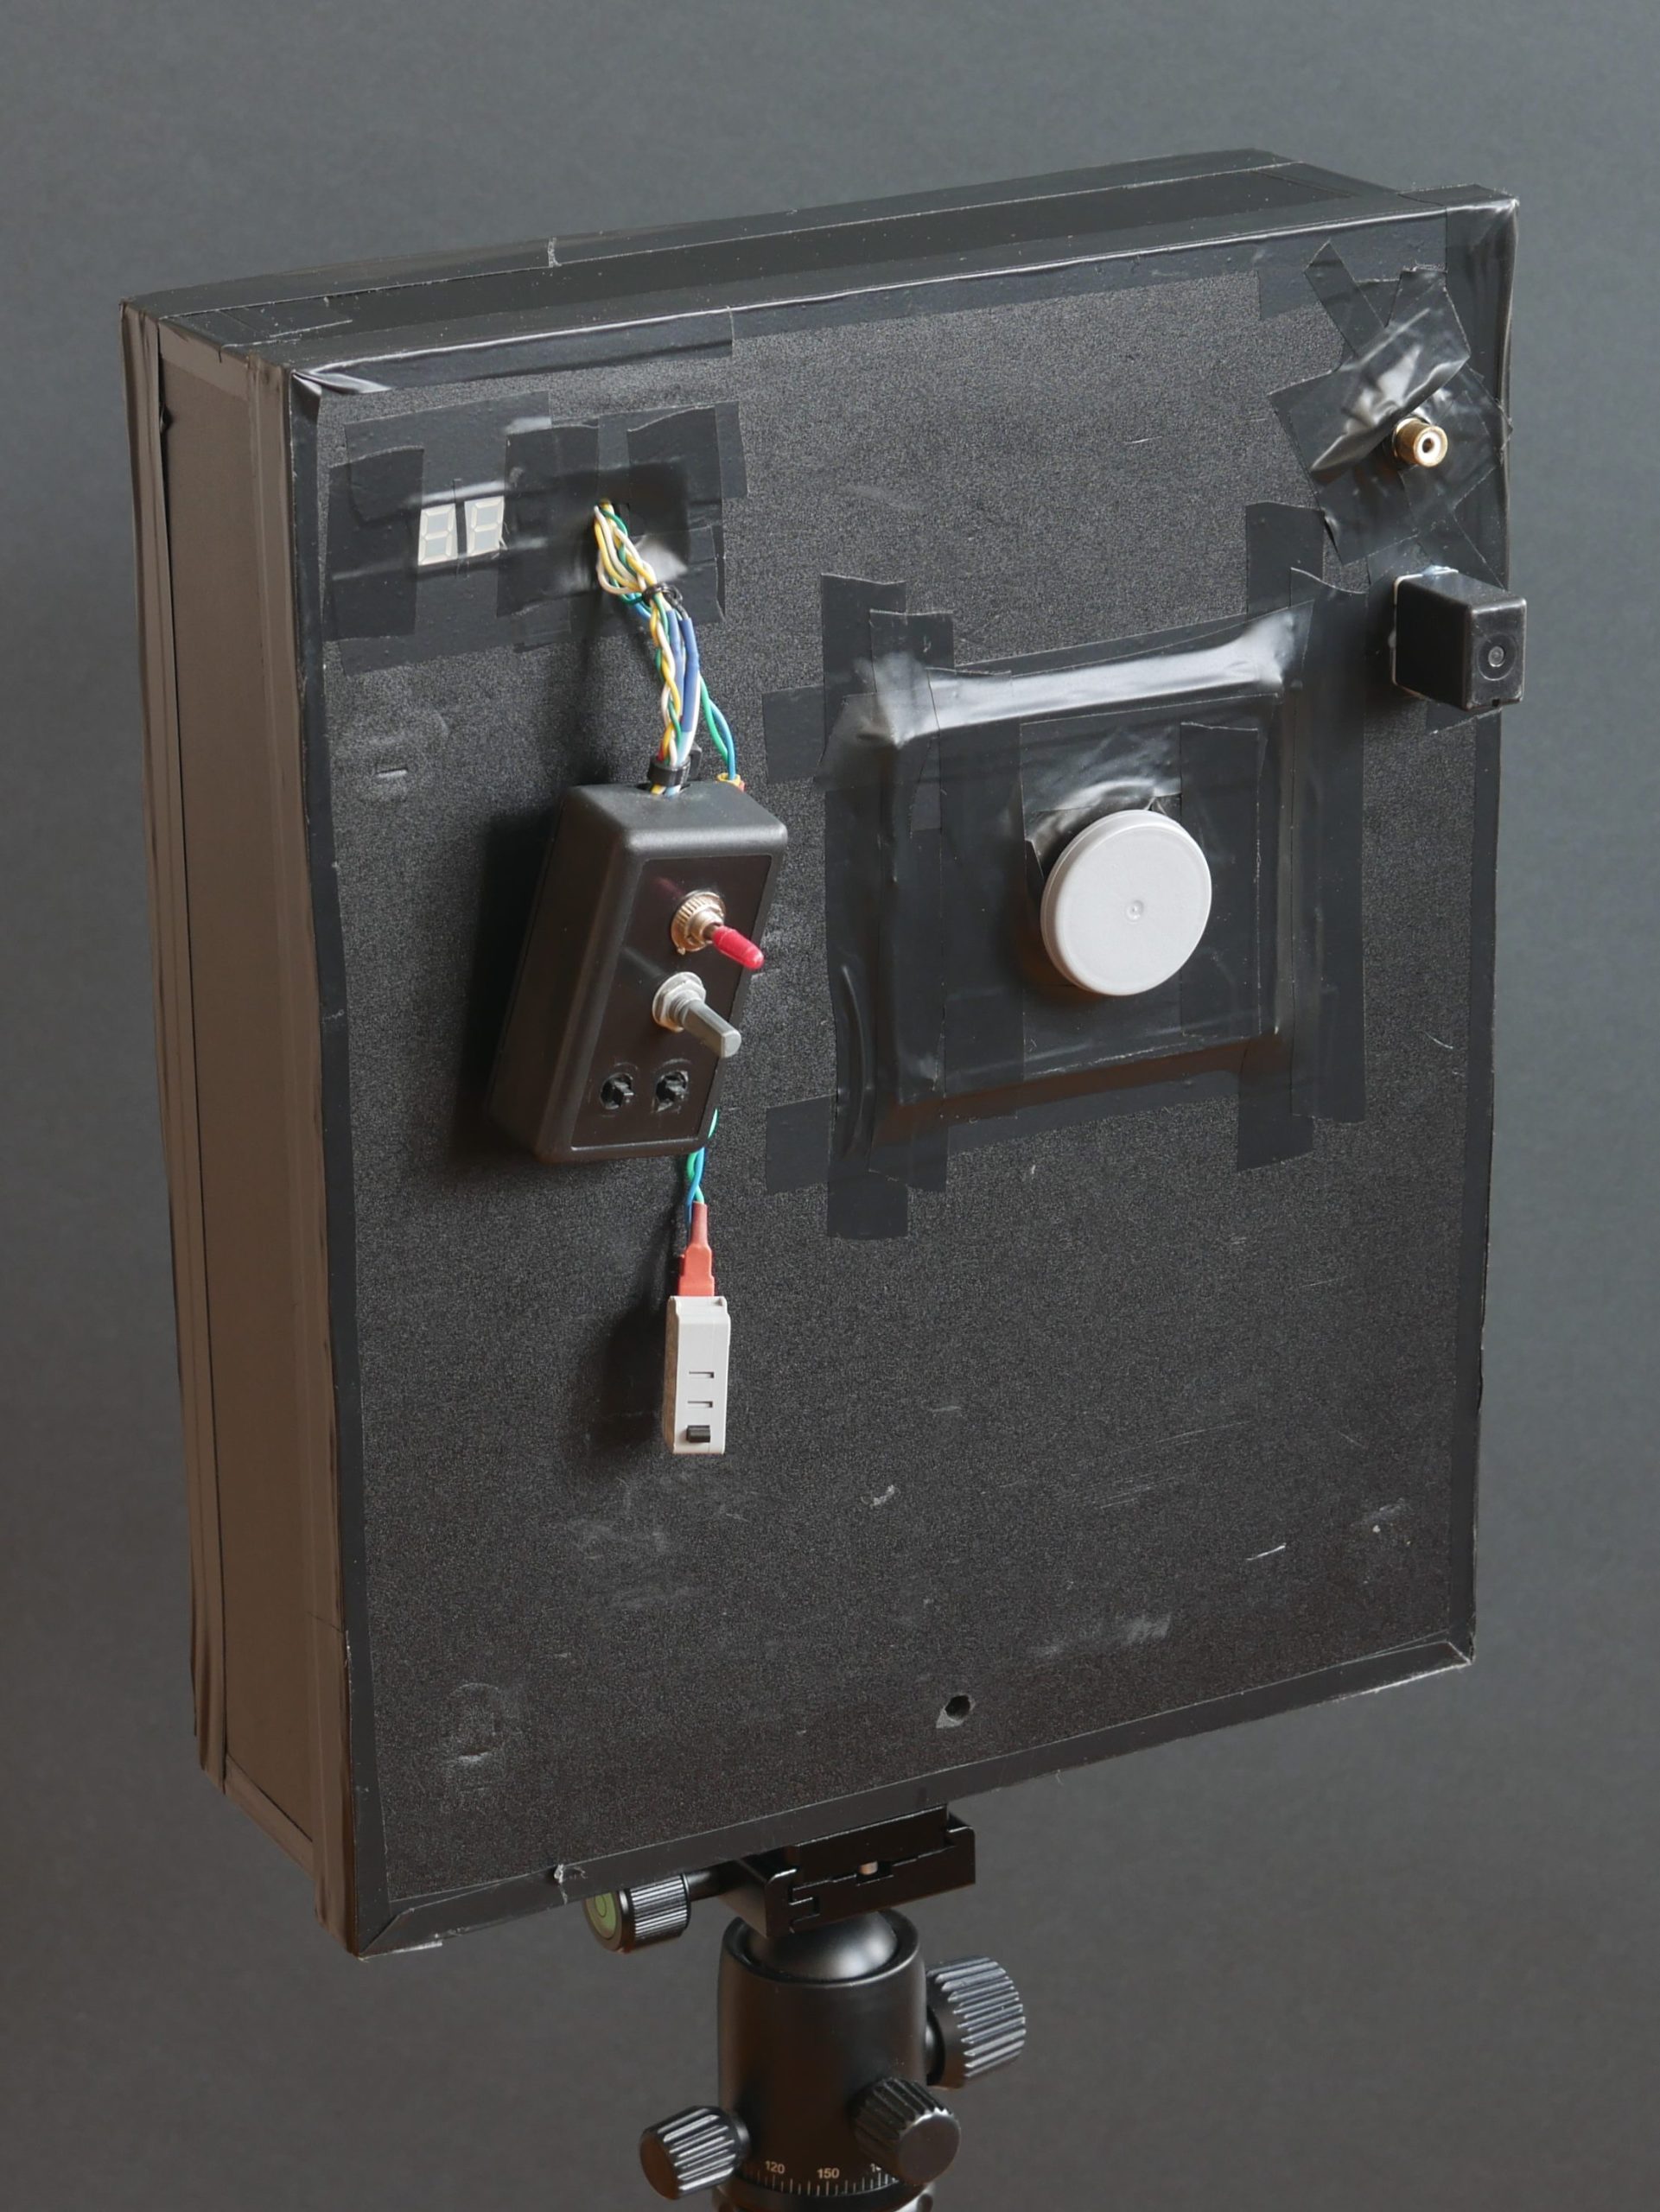
The housing was handmade using 3mm thick foamed PVC panels, all cobbled together with a hot-glue gun and electrical tape. Sparsely sprinkled with a C-mount lens thread, a simple 7-segment LED information display, a few control buttons, a connector for DSLR trigger sync scanning, and an external power supply battery. And that was about it.
The simple and short camera’s name ‘OKTO35’ is composed of two parts. ‘OKTO’ symbolizes the number 8 due to the camera’s very similar Super 8 gate exposure size, and the last part ’35’ addresses the 35mm film width.
At the end of the day, it was a very big and clunky shoe-box-sized camera, weighing over 1 kilogram (2 lbs). Talk about being portable! With no viewfinder and no built-in scene light-meter. Just good ol’ eyeballing and using a smartphone’s light meter app. Still, it worked just enough to produce some useful test footage.
INTERNALS
I didn’t give much thought to internal stuff organization, so the result was a clumsy mess of wires, electronic modules, and mechanical components, all installed onto the main platform using hot glue in the form of isolated islands. All this was surrounded by heavy light seals. But hey, it worked! And yes, it looked like a bomb that’s about to go off any second.
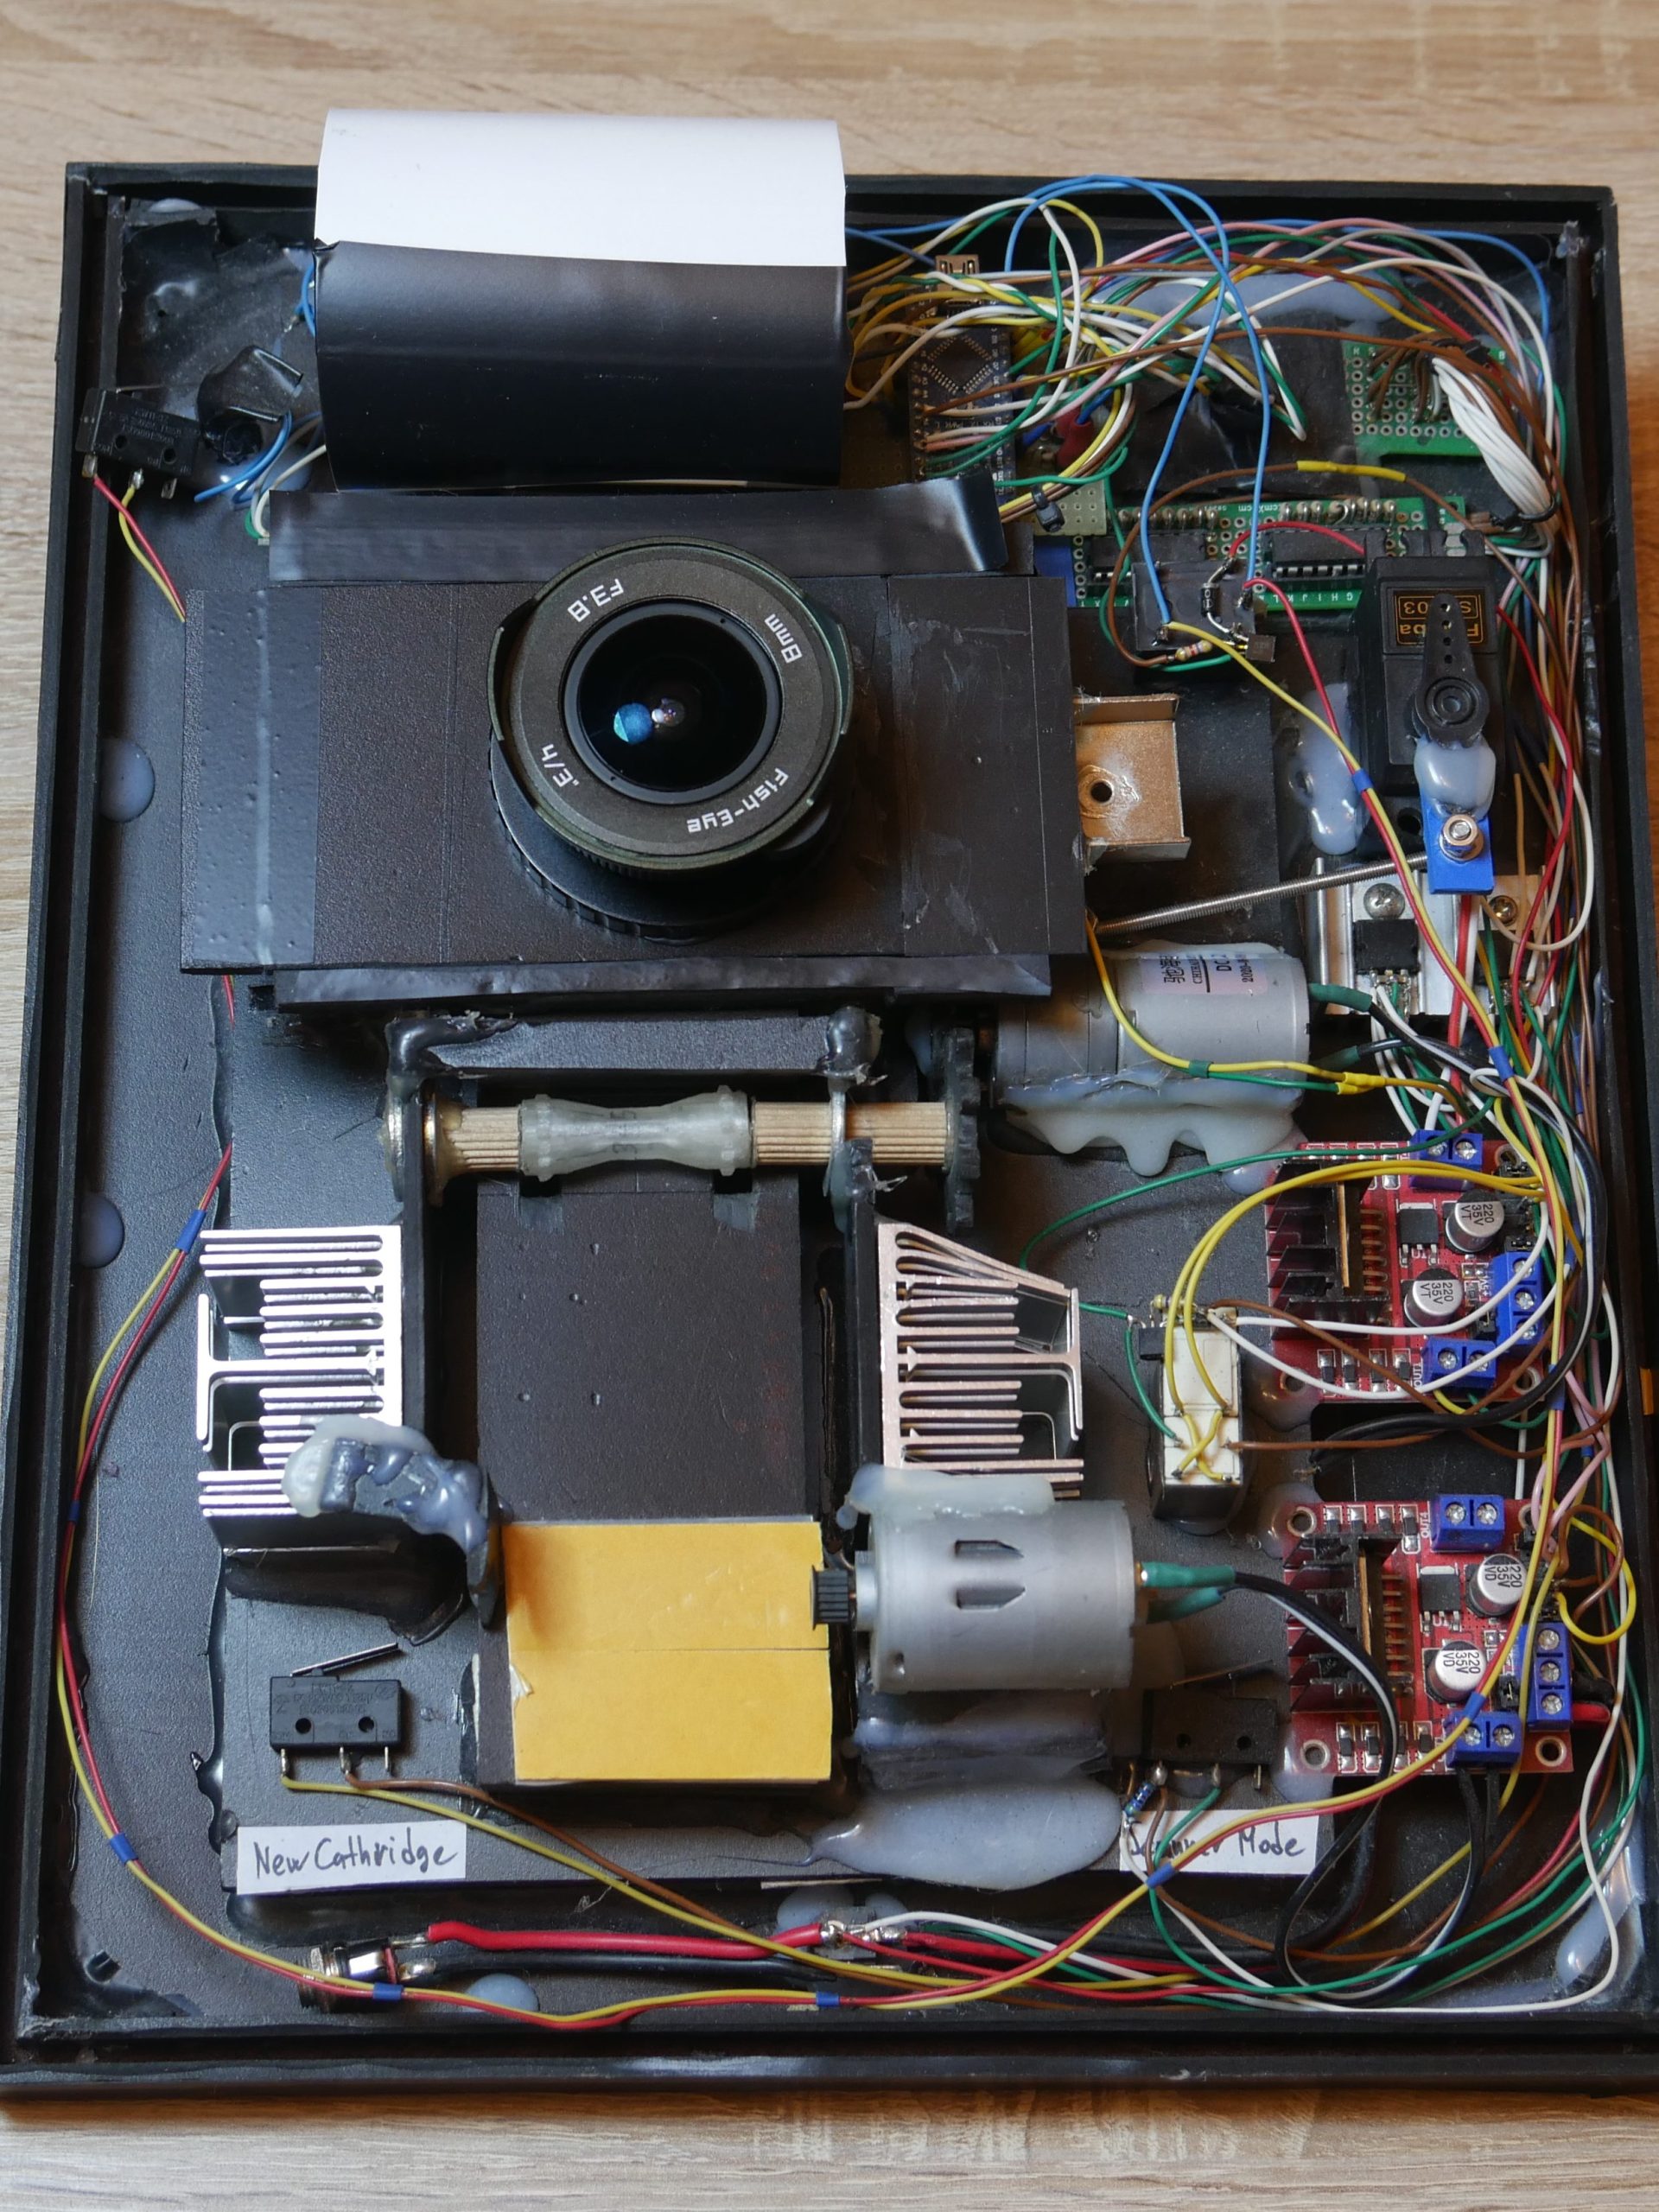
A servo motor, connected to the C-mount plate, provided the necessary film track shift. Performed automatically at each end of the film track.
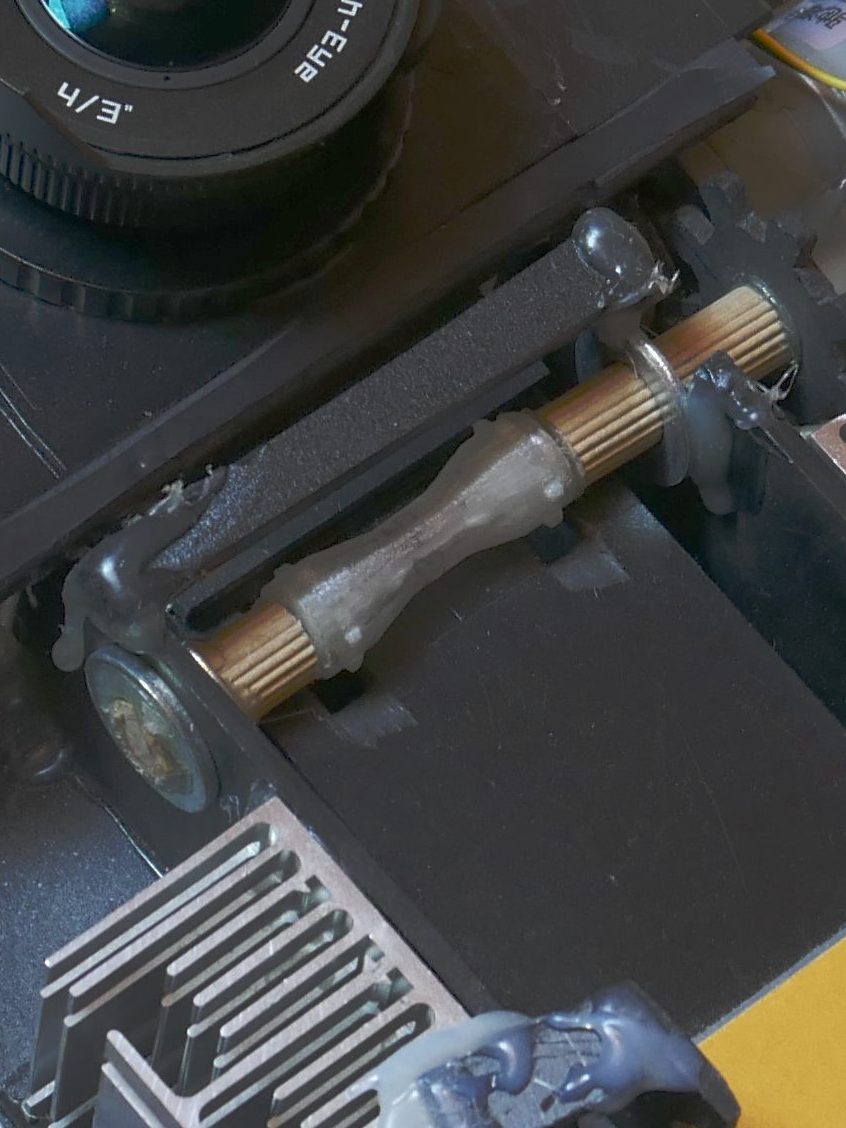
For frame advancing, I made a simple Geneva advance mechanism, connected to a 3D printed sprocket roller. Upon advancing, an infrared beam sensor detected a new film sprocket hole and triggered the lens shutter for a new exposure. The exposed film was then collected in a white plastic drum. Due to the frame advance mechanism’s handmade inaccuracy, the scanned footage resulted in a very excessive gate weave effect.
The user interface consisted of a 7-segment information display, a few buttons for settings, and a trigger button. All dangling on wires from the housing. Yep, definitely a crude prototype design right there.
All this was powered by an Arduino Nano microcontroller and an external 11.1V Li-Po battery. For fresh film loading, it was required to open the whole camera apart, along with shifting some of the internals around! For sure, not super user-friendly.
FILM EXPOSURE
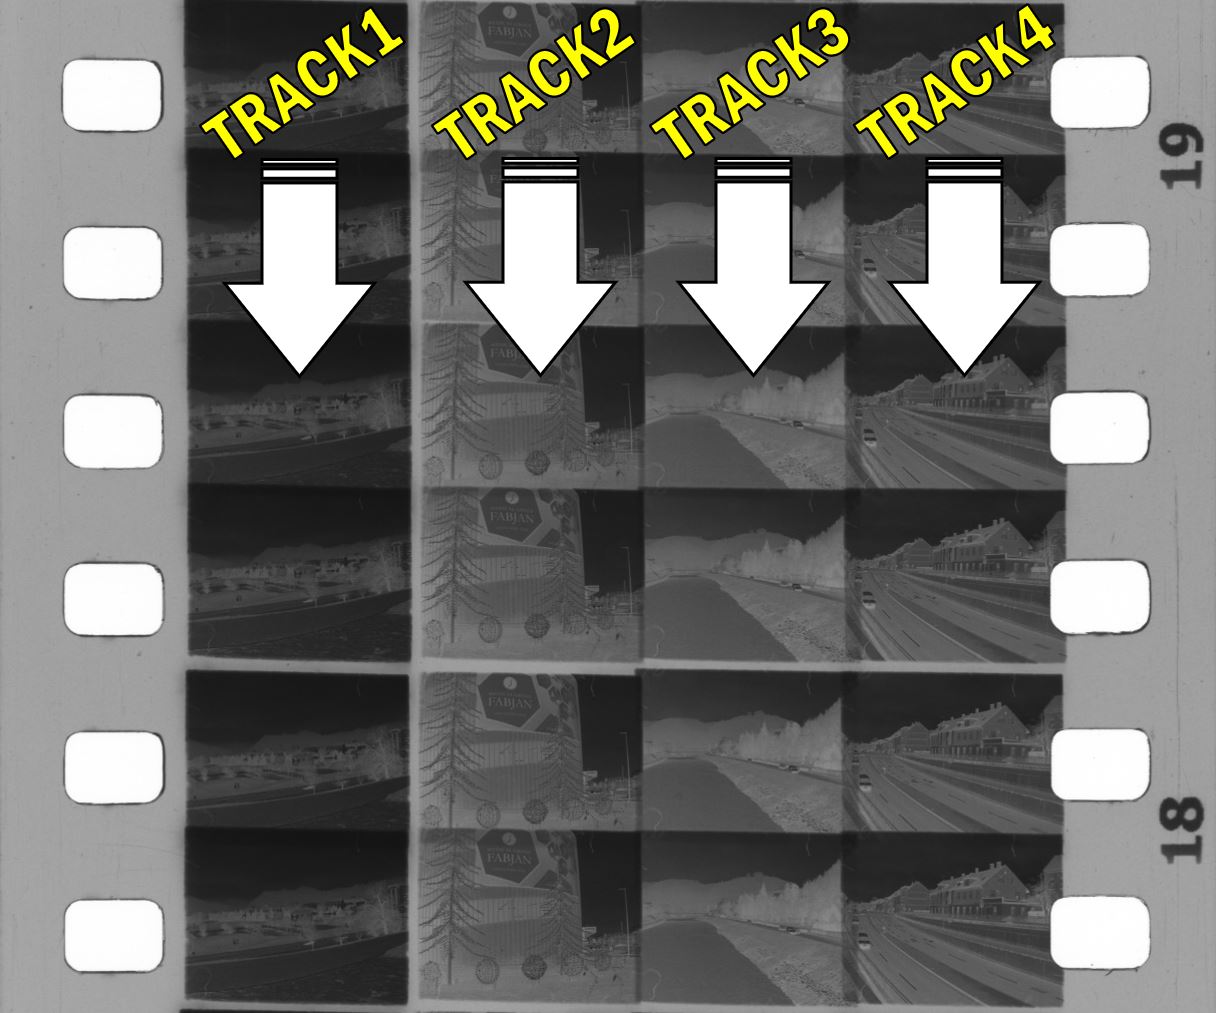
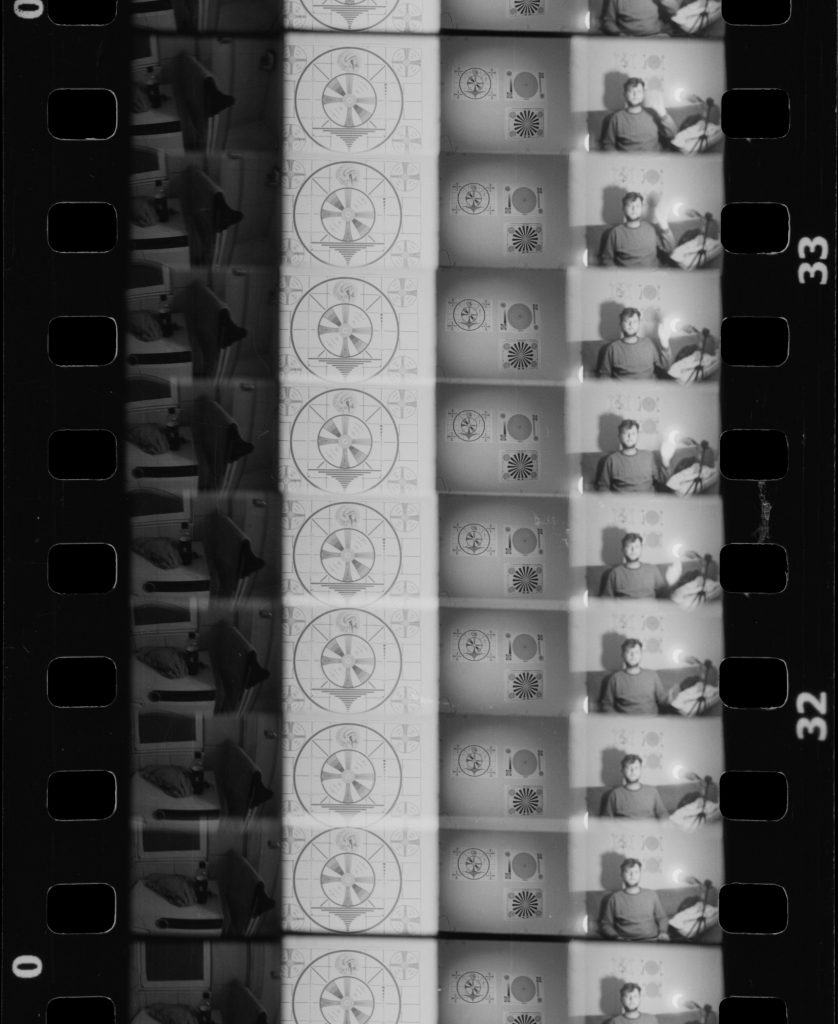
Frame exposure was made in a 1-perf / 4-track method on a standard 35mm 36-exposure film cartridge roll. Frame size was just shy larger the Super 8 format. Frame advancing/rewinding and track shifting were performed automatically.
SCANNED RESULTS
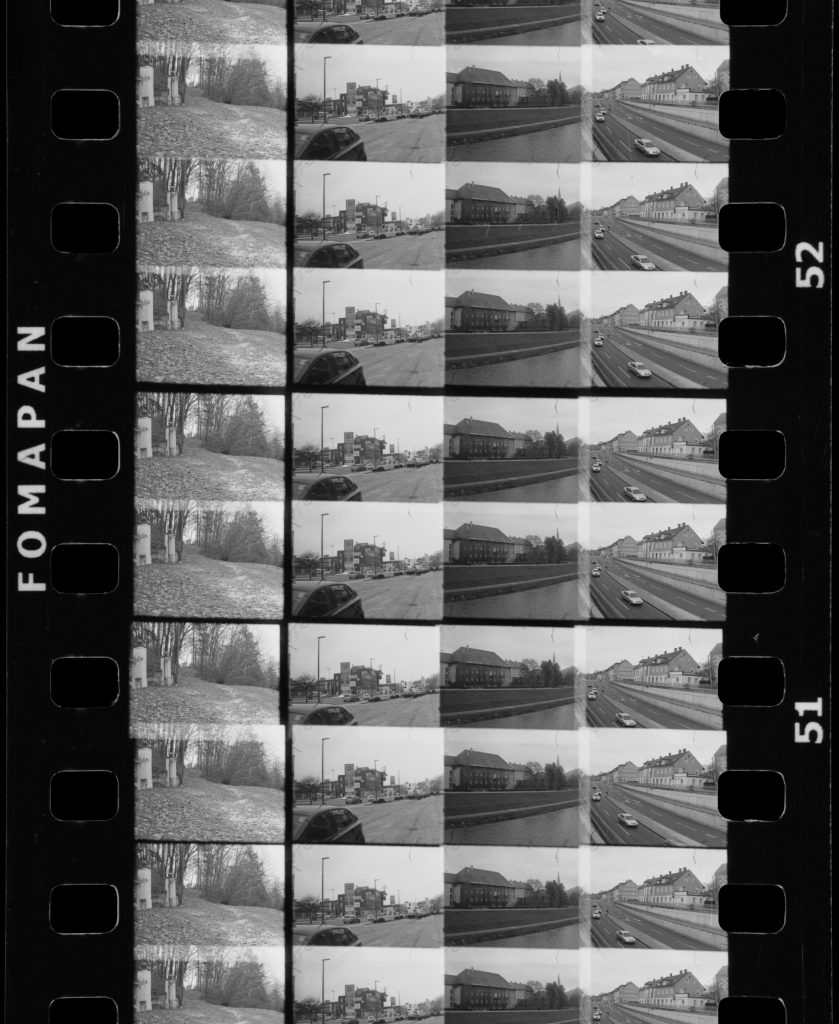
OKTO35 Mk1’s scanned results were, despite having a wonky and handmade Geneva mechanism with poor pin registration, surprisingly decent. Still, there was an excessive gate weave effect present. An early 1900s footage feeling. This is what drove me further to make a vastly improved second camera version OKTO35 Mk2.
The scanning procedure was performed using a C-mount 35mm lens (as a magnifier) and the Lumix Mirrorless camera’s stock lens. Both were optically coupled together along with a trigger wire connection, which provided synchronization during the frame-by-frame snapshots. The film was held in place by a transparent and somewhat scratched plastic holder and backlit using a white LED light source.
THE SUCCESSOR
After reviewing OKTO35 MK1’s scanned footage and much thought, it was time for an upgrade. A completely new and vastly improved 3D printed second version of OKTO35 Mk2. I strongly advise you to go check it out.